Tag: tire pressure check

  • Towing a Trailer: Weight Distribution, Mirrors, and Braking

    Towing a Trailer: Weight Distribution, Mirrors, and Braking

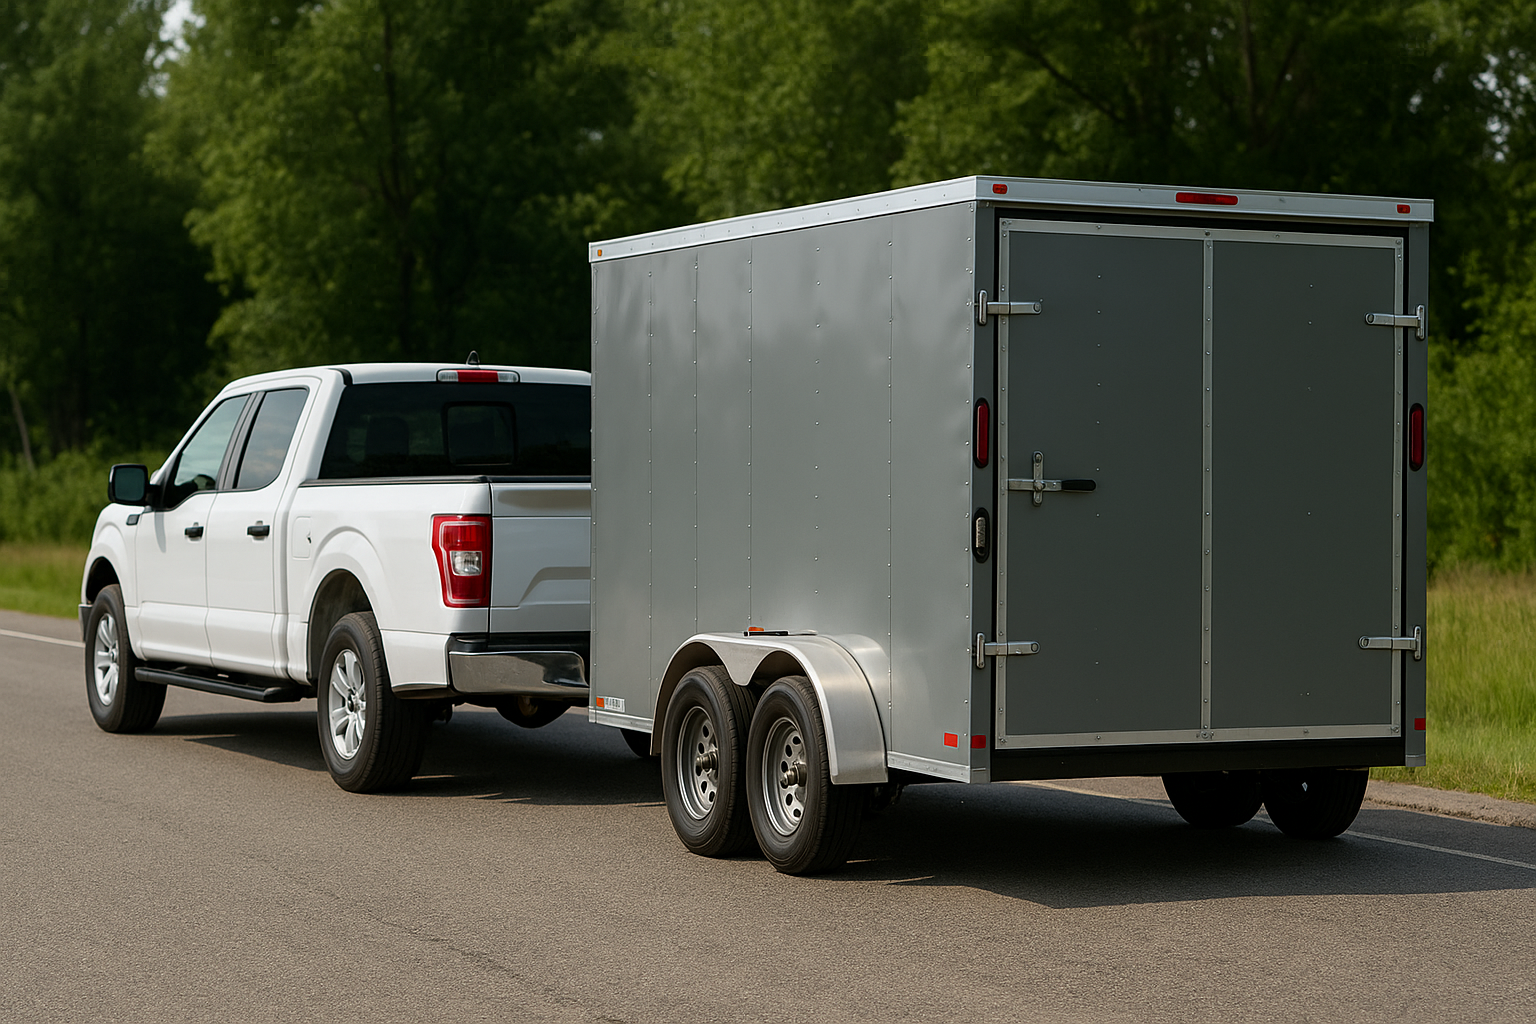
    Hook: Hauling a trailer adds versatility to your vehicle—but improper setup can lead to sway, poor handling, or even accidents. This towing trailer guide covers key principles of trailer weight distribution, mirror adjustment, and braking strategies for safe towing.

    • How to achieve correct tongue weight and balance
    • Mirror setup for maximum visibility
    • Braking techniques to control trailer momentum

    Why Proper Weight Distribution Matters

    Uneven or excessive tongue weight (the downward force at the hitch) can overload your rear axle, reduce front-wheel traction, and cause trailer sway. Aim for 10–15% of the total trailer weight on the hitch. For example, a 3,000 lb trailer should exert 300–450 lb tongue weight. Use a quality hitch scale to verify and adjust by redistributing cargo fore and aft in the trailer.

    Step 1: Loading & Balancing the Trailer

    1.1 Position Heavy Items Over Axle

    Place batteries, water tanks, and other heavy cargo directly above or slightly forward of the trailer axle. This centralizes weight and minimizes side-to-side imbalance.

    1.2 Front-to-Rear Cargo Placement

    Shift lighter gear (chairs, camping supplies) toward the rear, but avoid stacking so far back that tongue weight drops below 10%. If you’re below spec, move 50–100 lb of cargo forward to restore proper pressure.

    1.3 Secure & Tie Down

    Use ratchet straps and bungee cords to prevent cargo from shifting under acceleration or during sudden stops. A moving load can instantly alter distribution and create sway.

    Step 2: Adjusting Mirrors for Full Visibility

    With the trailer attached and loaded, sit in the driver’s seat and adjust your side-view mirrors so that:

    • You can see the full length of the trailer’s side without leaning.
    • The horizon line bisects each mirror, minimizing blind spots above or below.
    • Objects directly beside your trailer appear at the inner edge of the mirror.

    If your vehicle lacks extendable mirrors, consider clip-on mirror extensions to maintain legal visibility of adjacent lanes.

    Step 3: Braking & Controlling Momentum

    3.1 Trailer Brakes vs. Vehicle Brakes

    Electric trailer brakes—activated by your vehicle’s brake controller—help share stopping load. Set the gain so that light stops engage trailer brakes first, then vehicle brakes under heavier loads.

    3.2 Smooth, Early Braking

    Begin braking earlier than you would unhitched. Allow at least twice the normal stopping distance in wet or downhill conditions. Progressive pedal pressure prevents trailer “jack-knifing.”

    3.3 Sway Control

    If you detect sway, hold the steering steady and lightly tap the trailer-brake override button. This applies only trailer brakes, which realigns hitch and tow vehicle without wheel lock-up.

    Pro Tips for Safe Towing

    • Inspect Hitch & Hardware: Check for cracks, rust, or loose bolts before every trip.
    • Use Weight-Distribution Hitch: For heavy trailers, spring bars can transfer load to front axle and improve steering response.
    • Monitor Tire Pressure: Underinflated tires on tow vehicle or trailer reduce stability—check pressures cold.
    • Practice in Low-Traffic Areas: Rehearse backing and turning maneuvers before hitting busy roads.
    • Keep Speed Under 60 mph: High speeds amplify sway and reduce reaction time.

    Common Pitfalls to Avoid

    1. Overloading the Rear: Too much cargo at the back raises front end and hampers steering.
    2. Ignoring Sway Symptoms: Correct immediately—continuing to drive through sway can escalate to loss of control.
    3. Braking Hard Without Trailer Brakes: Relying solely on your vehicle’s brakes lets the trailer push you forward under heavy stop.
    4. Poor Mirror Adjustment: Blind spots hide adjacent cars—regularly verify mirror angles on long trips.

    FAQs

    Q1: How do I calculate tongue weight?
    A1: Use a bathroom scale under the jack foot with trailer level. Measure total trailer cargo, then adjust load until the jack reads 10–15% of that weight.
    Q2: Is a weight-distribution hitch necessary?
    A2: For trailers over 50% of tow vehicle’s curb weight or frequent mountain driving, yes—it prevents nose-lift and enhances steering control.
    Q3: What if I can’t install electric trailer brakes?
    A3: Invest in a mechanical surge brake system. It applies trailer brakes hydraulically during tow vehicle deceleration, though tuning is less precise than electric.

    Conclusion & Next Steps

    Following this towing trailer guide—from perfecting trailer weight distribution to mirror setup and braking strategies—will make every haul safer and more predictable. Before your next trip, run through this checklist: scale your tongue weight, test your mirrors, and verify brake controller settings. Master these steps, and you’ll tow like a pro every time!

  • How to Prep Your Car for a 1,000-Mile Road Trip

    How to Prep Your Car for a 1,000-Mile Road Trip

    Hook: Planning a cross-country adventure? A thorough road trip car checklist and smart long distance car prep ensure you spend less time stranded on the shoulder and more time enjoying the open road. Follow these steps to make your next 1,000-mile drive smooth and stress-free.

    • Why pre-trip maintenance saves you time and money
    • Easy DIY checks and when to call a pro
    • Essential packing tips for car care on the go

    Why Proper Pre-Trip Prep Matters

    Driving 1,000 miles stretches every component of your vehicle—from engine cooling to tire wear—well beyond daily commute demands. Skipping key inspections can lead to breakdowns, overheating, or unexpected repairs miles from the nearest service station. A comprehensive long distance car prep routine minimizes risk, keeps your fuel economy on track, and gives you peace of mind to focus on the scenery, not the service manual.

    Step-by-Step Road Trip Car Checklist

    1. Inspect Tires & Wheels

    Check tire pressure (including your spare) and adjust to the manufacturer’s recommended PSI. Examine treads for uneven wear or embedded debris, and rotate or replace if tread depth is below 4/32″. Don’t forget to inspect your spare and the jack kit—your road trip car checklist isn’t complete without a usable backup.

    2. Verify Fluid Levels

    Top off engine oil, coolant/antifreeze, brake fluid, power steering fluid, and windshield washer fluid. If oil change is due within the next 1,000 miles, perform it now to keep the engine running clean and cool. For harsh climates, choose coolant with the right freeze/boil-over protection.

    3. Test Battery & Charging System

    Have your battery’s voltage and cranking amps tested—especially if it’s over three years old. Clean corrosion off the terminals, tighten connections, and inspect cables for cracks. A fresh battery or connector repair can prevent a no-start scenario at dawn.

    4. Examine Brakes & Suspension

    Spin each wheel to listen for grinding or rubbing noises. Check brake pad thickness (minimum 3 mm) and look for fluid leaks at calipers. Verify shock and strut mounts for leaks or damage—long-distance comfort and handling depend on a healthy suspension.

    5. Replace Cabin & Engine Air Filters

    A clean air filter keeps fuel economy optimized and cabin air fresh. Swap your engine air filter to maintain proper fuel/air ratio, and install a new cabin air filter to reduce pollen or dust on long hauls.

    6. Inspect Lights & Wipers

    Test headlights (high/low beam), brake lights, turn signals, and hazard lights. Replace any burned-out bulbs. Fit fresh wiper blades and fill washer fluid—rain and highway grime are inevitable on a 1,000-mile journey.

    7. Pack an Emergency Roadside Kit

    Your kit should include jumper cables, a tire pressure gauge, portable air compressor, basic tool set, flashlight with extra batteries, first-aid supplies, and reflective triangles. Add bottled water, non-perishable snacks, and a blanket for unexpected delays.

    Pro Tips & Advanced Tricks

    • Use a digital tire inflator with built-in gauge to quickly top off at gas stops.
    • Apply anti-seize lubricant to battery terminals and lug nuts before departure.
    • Carry a small funnel and extra engine oil/coolant sealed in travel-safe containers.
    • Map service stations and parts stores along your route using your GPS or a road-trip app.

    Common Pitfalls to Avoid

    1. Overlooking belt condition: A worn serpentine belt can snap under heavy load. Inspect for cracks or glazing.
    2. Ignoring warning lights: Don’t clear codes without diagnosing; check-engine lights often signal issues that worsen with mileage.
    3. Packing too much weight: Overloaded cargo stresses brakes, suspension, and tires. Distribute gear evenly and stay within your load limit.

    FAQs

    Q1: How far in advance should I prep my car?
    A1: Perform major checks (fluids, filters, battery) 1–2 weeks before departure, then do a quick walk-around the day before your trip.
    Q2: Can I change brake pads myself before a road trip?
    A2: If you have the right tools and experience, yes—but for safety-critical parts like brakes, consider professional service for peace of mind.
    Q3: What’s the ideal tire pressure for a long drive?
    A3: Use the manufacturer’s placard rating for a fully loaded vehicle. Slightly higher PSI (2–3 PSI) can improve fuel economy and reduce heat buildup.

    Conclusion & Next Steps

    With this road trip car checklist and thorough long distance car prep, you’re set to tackle 1,000 miles confidently. Schedule routine stops every 200–300 miles to recheck your tires and fluid levels. Now pack your bags, queue your playlist, and hit the road—adventure awaits!