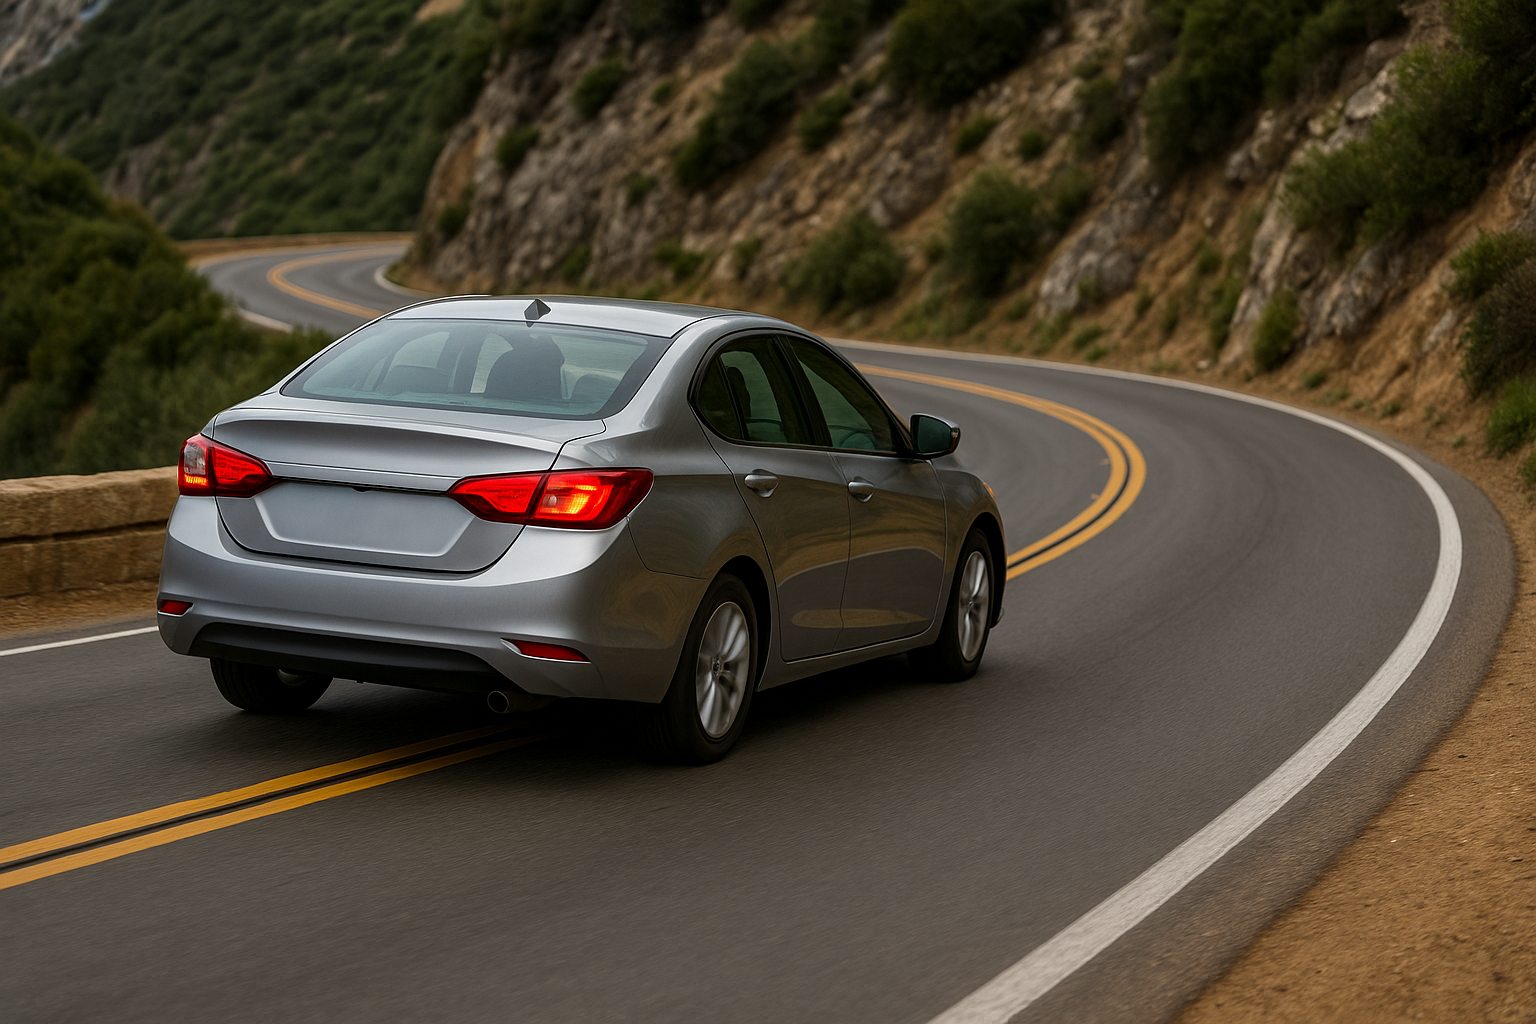
Hook: Mountain roads demand precision: brake too late or accelerate too early and you risk understeer, oversteer, or even running off the road. These proven mountain driving tips and refined cornering techniques will guide your brake and throttle inputs so you can tackle every bend with confidence.
- Why coordinated brake-throttle control is essential on elevation changes
- How to sequence braking and acceleration for maximum traction
- Pro tips to blend inputs smoothly for safer, faster corner entries and exits
1. Understanding Weight Transfer on Slopes
When braking, weight shifts forward and compresses the front suspension—boosting front grip but unloading the rear. Conversely, accelerating transfers load rearward, increasing rear traction while lightening the front. On mountain roads this effect is magnified by gradients:
- Uphill Corner Entry: Engine braking helps slow the car, but too much throttle mid-turn can reduce front grip.
- Downhill Corner Entry: Braking before the turn is crucial, since downhill momentum amplifies weight transfer.
2. Braking Strategy for Mountain Curves
2.1 Brake Early in a Straight Line
Whether ascending or descending, finish your braking on the straight approach. Target a speed about 20–30% below your dry-test pace to allow safe margin. Apply firm, progressive pressure, using ABS or threshold braking to avoid lock-ups.
2.2 Modulate for Gradient
On downhill entries, start braking slightly earlier to compensate for increased inertia. On uphill entries, you can rely partially on engine braking, but don’t sacrifice throttle control entirely—maintain enough rpm to avoid lugging the engine.
2.3 Trail Braking (Advanced)
For experienced drivers, gently ease off brake pressure into the turn to keep weight over the front tires. This technique sharpens turn-in grip but requires precise modulation—practice on smooth, low-traffic mountain stretches first.
3. Seamless Acceleration Exits
3.1 Wait for the Apex
Only introduce throttle once your wheels begin to straighten past the apex. Premature acceleration shifts weight rearward too soon, lightening the front end and causing understeer.
3.2 Progressive Throttle Roll-On
Gradually increase throttle in a smooth arc. This balanced application shifts weight rearward steadily, enhancing front tire grip during the transition from braking to acceleration.
3.3 Gear Selection & RPM
Stay in a gear that keeps the engine in its optimal torque band (1,500–2,500 rpm). On uphill exits, higher revs ensure you have power ready; on downhill exits, you can downshift to maintain engine braking control if needed.
4. Putting It All Together: A Step-By-Step Sequence
- Approach & Vision: Scan ahead for road camber, surface debris, and exit visibility.
- Brake in a Straight Line: Apply firm, steady pressure—finish before steering input.
- Shift & Balance: Select the correct gear, release brake fully, and find the bite point if using trail braking.
- Turn-In: Steer smoothly to your chosen line; maintain slight brake pressure if trail braking.
- Apex Hold: Slightly unwind steering and keep brake off; keep throttle neutral until past the apex.
- Accelerate Out: Roll on throttle progressively, straighten the wheel, and allow weight transfer rearward.
- Stabilize: Resume normal driving posture and prepare for the next corner.
5. Pro Tips & Advanced Tricks
- Brake Balance Adjustment: If your car allows, bias more braking force to the front on downhill bends to prevent rear lock-up.
- Tire Pressure Tuning: Slightly softer rear pressures can help maintain grip under engine braking, while firmer fronts aid turn-in precision.
- Use Road Camber: Stay on the high side of the lane in right-hand turns to counteract the road’s banking.
- Hand-Brake Technique (Low Traction): In loose or snowy conditions, a brief hand-brake tug can initiate rotation—but only for advanced drivers.
- Practice in Clear Conditions: Master inputs on dry tarmac before attempting them in rain or snow.
6. Common Pitfalls to Avoid
- Braking Mid-Corner: Releases front grip abruptly and risks a snap oversteer.
- Sudden Throttle Application: Spins rear wheels if applied before enough front grip returns.
- Wrong Gear: Being in too high a gear starves you of power on exit; too low a gear can over-rev and upset balance.
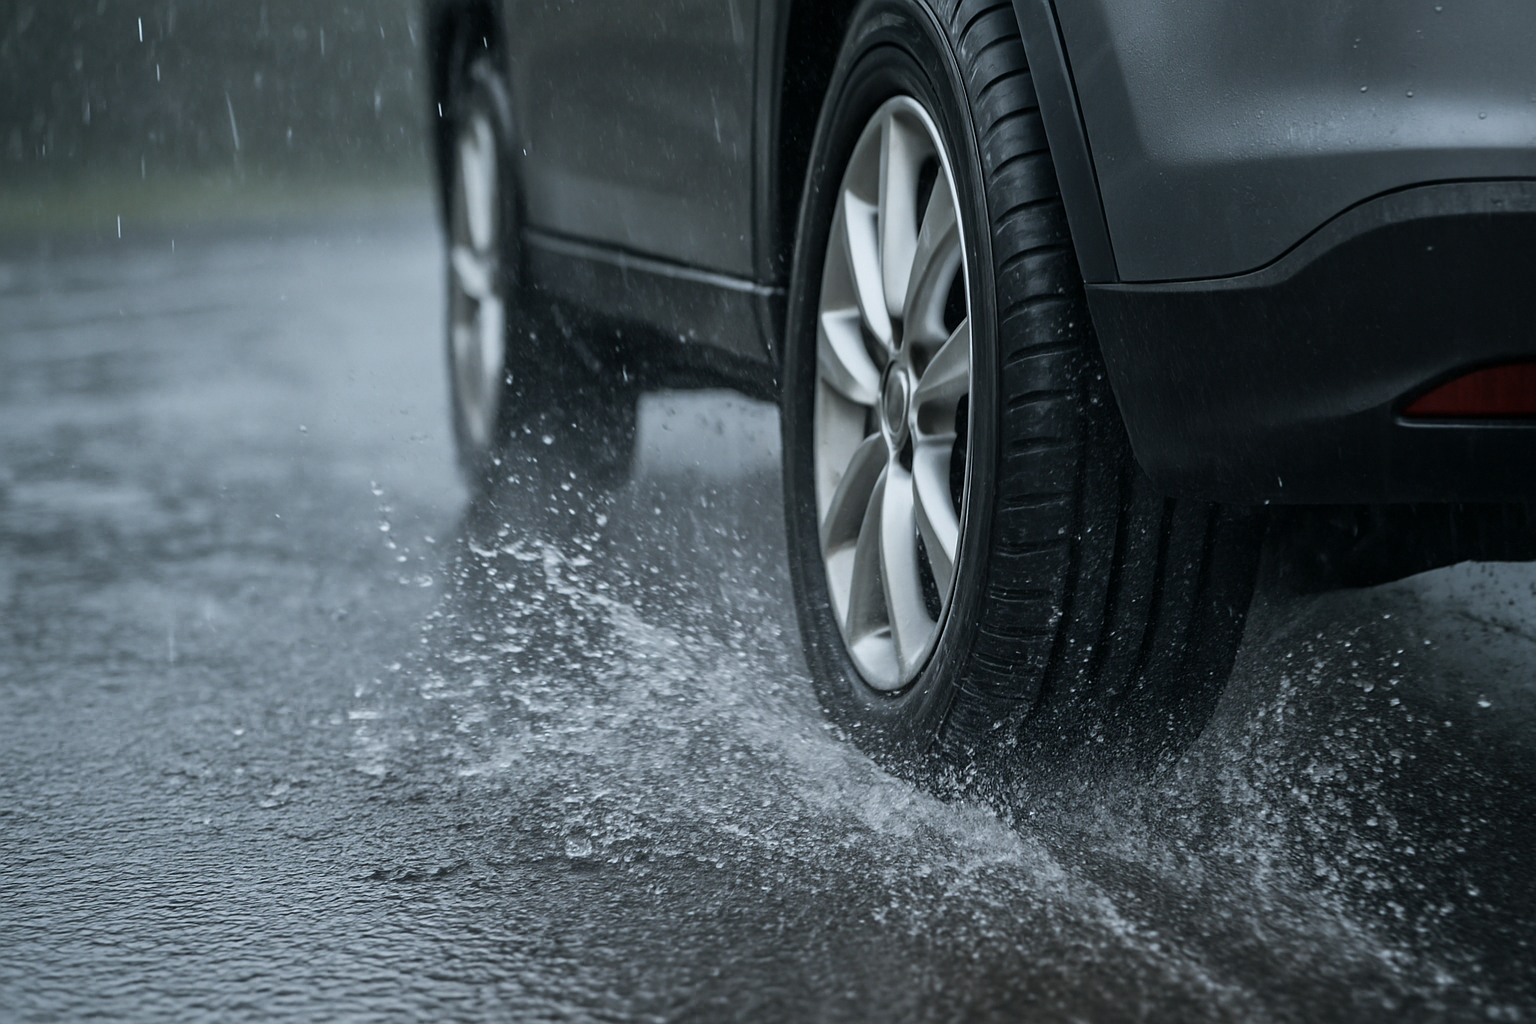
- Ignoring Surface Changes: Gravel, wet leaves, or ice dramatically alter traction—reduce speed and avoid harsh inputs.
FAQs
- Q1: Should I downshift before braking or during corner entry?
- A1: Ideally downshift after finishing braking but before turn-in. This avoids engine braking upsetting balance mid-corner.
- Q2: Can I use engine braking alone on downhill corners?
- A2: Engine braking helps, but supplement with light pedal braking to fine-tune speed—especially when the gradient increases.
- Q3: How do I practice without risking safety?
- A3: Find deserted uphill/downhill stretches or closed-course facilities to rehearse brake-then-accelerate sequences at low speeds.
Conclusion & Next Steps
By blending precise braking with smooth acceleration and following these mountain driving tips and cornering techniques, you’ll navigate even the twistiest mountain roads with poise. Start slowly, focus on each phase—brake, turn-in, accelerate—and progressively increase pace as your confidence grows. Safe driving and enjoy every mile of your mountain adventure!

