Category: Driving Skills

  • Towing a Trailer: Weight Distribution, Mirrors, and Braking

    Towing a Trailer: Weight Distribution, Mirrors, and Braking

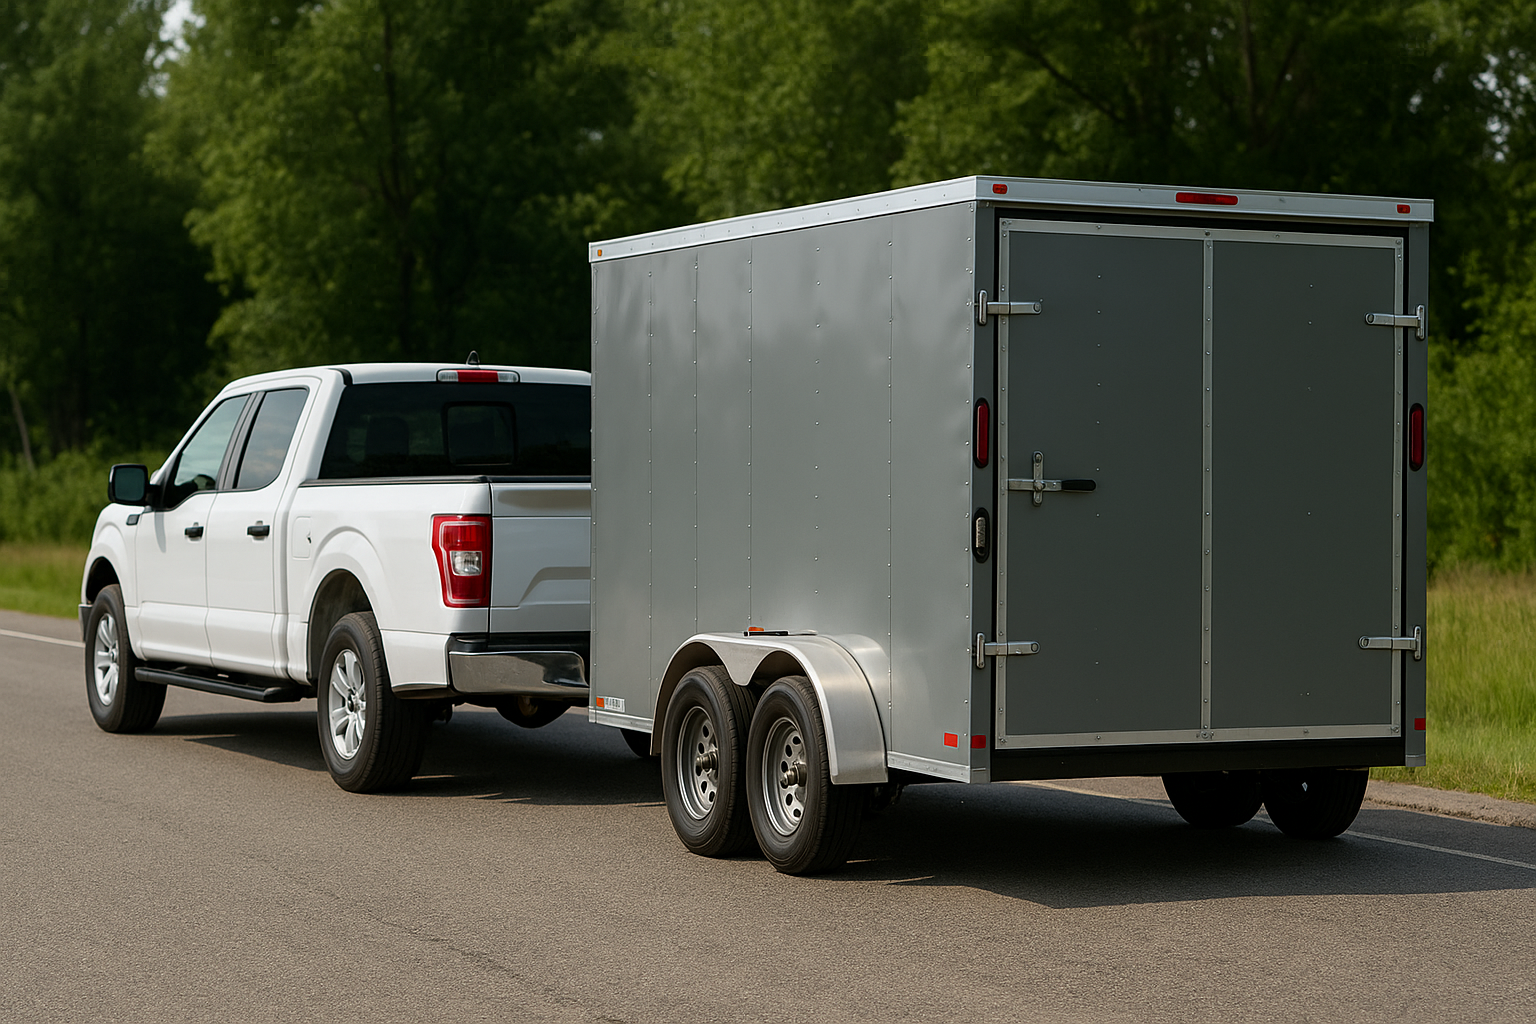
    Hook: Hauling a trailer adds versatility to your vehicle—but improper setup can lead to sway, poor handling, or even accidents. This towing trailer guide covers key principles of trailer weight distribution, mirror adjustment, and braking strategies for safe towing.

    • How to achieve correct tongue weight and balance
    • Mirror setup for maximum visibility
    • Braking techniques to control trailer momentum

    Why Proper Weight Distribution Matters

    Uneven or excessive tongue weight (the downward force at the hitch) can overload your rear axle, reduce front-wheel traction, and cause trailer sway. Aim for 10–15% of the total trailer weight on the hitch. For example, a 3,000 lb trailer should exert 300–450 lb tongue weight. Use a quality hitch scale to verify and adjust by redistributing cargo fore and aft in the trailer.

    Step 1: Loading & Balancing the Trailer

    1.1 Position Heavy Items Over Axle

    Place batteries, water tanks, and other heavy cargo directly above or slightly forward of the trailer axle. This centralizes weight and minimizes side-to-side imbalance.

    1.2 Front-to-Rear Cargo Placement

    Shift lighter gear (chairs, camping supplies) toward the rear, but avoid stacking so far back that tongue weight drops below 10%. If you’re below spec, move 50–100 lb of cargo forward to restore proper pressure.

    1.3 Secure & Tie Down

    Use ratchet straps and bungee cords to prevent cargo from shifting under acceleration or during sudden stops. A moving load can instantly alter distribution and create sway.

    Step 2: Adjusting Mirrors for Full Visibility

    With the trailer attached and loaded, sit in the driver’s seat and adjust your side-view mirrors so that:

    • You can see the full length of the trailer’s side without leaning.
    • The horizon line bisects each mirror, minimizing blind spots above or below.
    • Objects directly beside your trailer appear at the inner edge of the mirror.

    If your vehicle lacks extendable mirrors, consider clip-on mirror extensions to maintain legal visibility of adjacent lanes.

    Step 3: Braking & Controlling Momentum

    3.1 Trailer Brakes vs. Vehicle Brakes

    Electric trailer brakes—activated by your vehicle’s brake controller—help share stopping load. Set the gain so that light stops engage trailer brakes first, then vehicle brakes under heavier loads.

    3.2 Smooth, Early Braking

    Begin braking earlier than you would unhitched. Allow at least twice the normal stopping distance in wet or downhill conditions. Progressive pedal pressure prevents trailer “jack-knifing.”

    3.3 Sway Control

    If you detect sway, hold the steering steady and lightly tap the trailer-brake override button. This applies only trailer brakes, which realigns hitch and tow vehicle without wheel lock-up.

    Pro Tips for Safe Towing

    • Inspect Hitch & Hardware: Check for cracks, rust, or loose bolts before every trip.
    • Use Weight-Distribution Hitch: For heavy trailers, spring bars can transfer load to front axle and improve steering response.
    • Monitor Tire Pressure: Underinflated tires on tow vehicle or trailer reduce stability—check pressures cold.
    • Practice in Low-Traffic Areas: Rehearse backing and turning maneuvers before hitting busy roads.
    • Keep Speed Under 60 mph: High speeds amplify sway and reduce reaction time.

    Common Pitfalls to Avoid

    1. Overloading the Rear: Too much cargo at the back raises front end and hampers steering.
    2. Ignoring Sway Symptoms: Correct immediately—continuing to drive through sway can escalate to loss of control.
    3. Braking Hard Without Trailer Brakes: Relying solely on your vehicle’s brakes lets the trailer push you forward under heavy stop.
    4. Poor Mirror Adjustment: Blind spots hide adjacent cars—regularly verify mirror angles on long trips.

    FAQs

    Q1: How do I calculate tongue weight?
    A1: Use a bathroom scale under the jack foot with trailer level. Measure total trailer cargo, then adjust load until the jack reads 10–15% of that weight.
    Q2: Is a weight-distribution hitch necessary?
    A2: For trailers over 50% of tow vehicle’s curb weight or frequent mountain driving, yes—it prevents nose-lift and enhances steering control.
    Q3: What if I can’t install electric trailer brakes?
    A3: Invest in a mechanical surge brake system. It applies trailer brakes hydraulically during tow vehicle deceleration, though tuning is less precise than electric.

    Conclusion & Next Steps

    Following this towing trailer guide—from perfecting trailer weight distribution to mirror setup and braking strategies—will make every haul safer and more predictable. Before your next trip, run through this checklist: scale your tongue weight, test your mirrors, and verify brake controller settings. Master these steps, and you’ll tow like a pro every time!
  • Braking and accelerating for a car turning on a mountain road

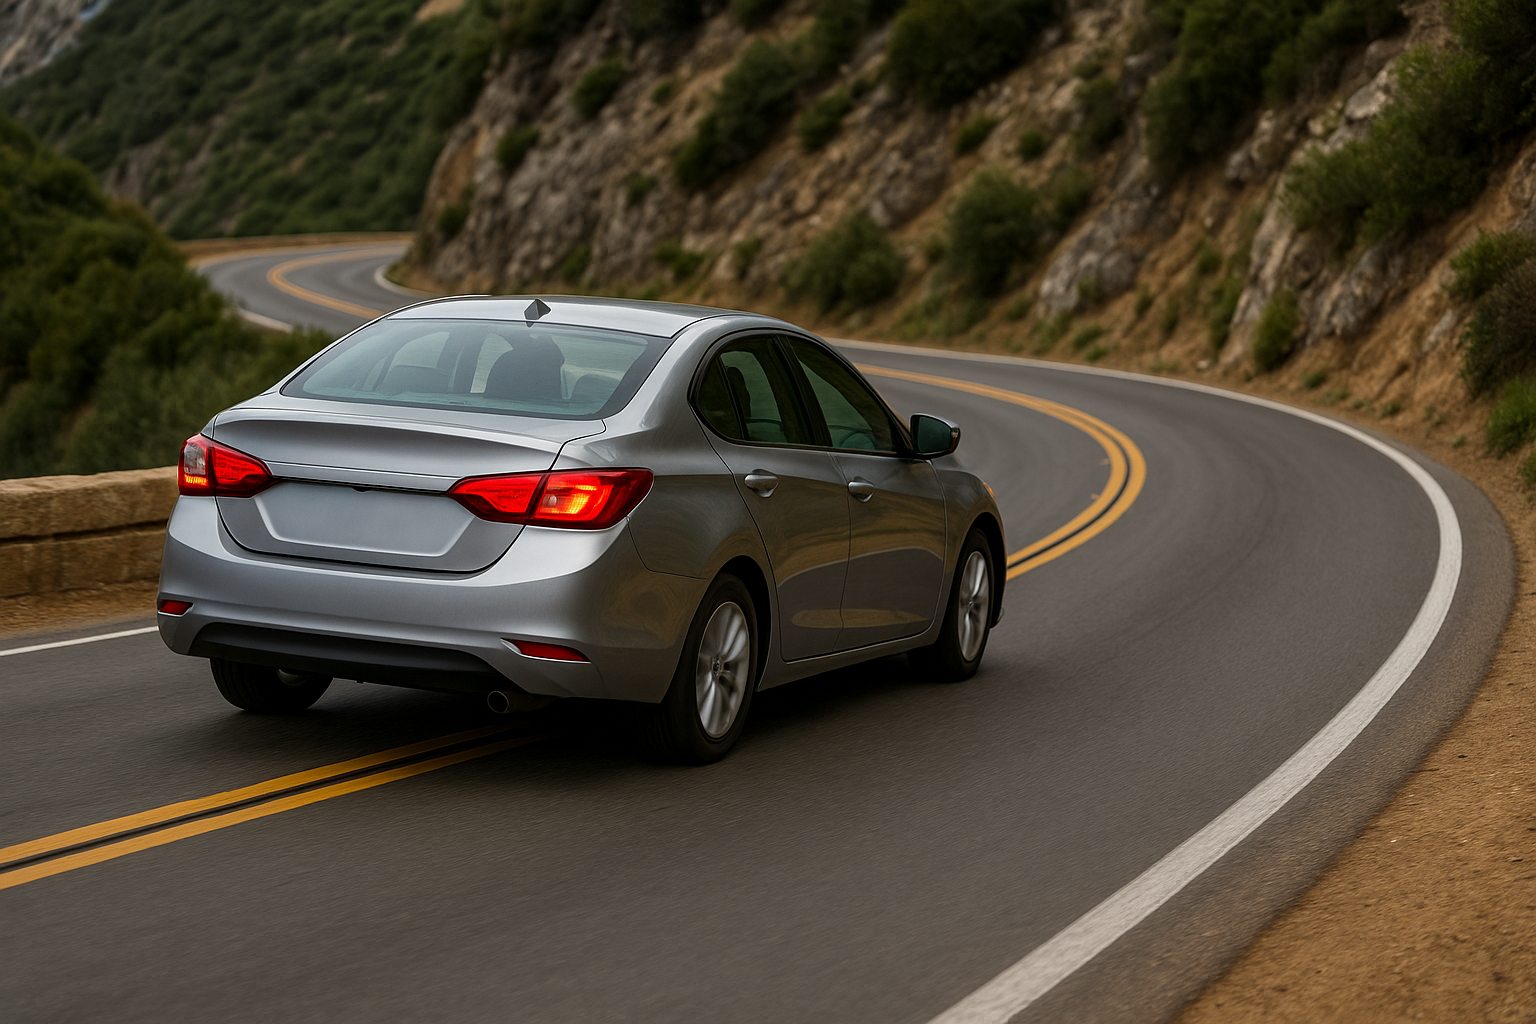
    Braking and accelerating for a car turning on a mountain road

    Hook: Mountain roads demand precision: brake too late or accelerate too early and you risk understeer, oversteer, or even running off the road. These proven mountain driving tips and refined cornering techniques will guide your brake and throttle inputs so you can tackle every bend with confidence.

    • Why coordinated brake-throttle control is essential on elevation changes
    • How to sequence braking and acceleration for maximum traction
    • Pro tips to blend inputs smoothly for safer, faster corner entries and exits

    1. Understanding Weight Transfer on Slopes

    When braking, weight shifts forward and compresses the front suspension—boosting front grip but unloading the rear. Conversely, accelerating transfers load rearward, increasing rear traction while lightening the front. On mountain roads this effect is magnified by gradients:

    • Uphill Corner Entry: Engine braking helps slow the car, but too much throttle mid-turn can reduce front grip.
    • Downhill Corner Entry: Braking before the turn is crucial, since downhill momentum amplifies weight transfer.

    2. Braking Strategy for Mountain Curves

    2.1 Brake Early in a Straight Line

    Whether ascending or descending, finish your braking on the straight approach. Target a speed about 20–30% below your dry-test pace to allow safe margin. Apply firm, progressive pressure, using ABS or threshold braking to avoid lock-ups.

    2.2 Modulate for Gradient

    On downhill entries, start braking slightly earlier to compensate for increased inertia. On uphill entries, you can rely partially on engine braking, but don’t sacrifice throttle control entirely—maintain enough rpm to avoid lugging the engine.

    2.3 Trail Braking (Advanced)

    For experienced drivers, gently ease off brake pressure into the turn to keep weight over the front tires. This technique sharpens turn-in grip but requires precise modulation—practice on smooth, low-traffic mountain stretches first.

    3. Seamless Acceleration Exits

    3.1 Wait for the Apex

    Only introduce throttle once your wheels begin to straighten past the apex. Premature acceleration shifts weight rearward too soon, lightening the front end and causing understeer.

    3.2 Progressive Throttle Roll-On

    Gradually increase throttle in a smooth arc. This balanced application shifts weight rearward steadily, enhancing front tire grip during the transition from braking to acceleration.

    3.3 Gear Selection & RPM

    Stay in a gear that keeps the engine in its optimal torque band (1,500–2,500 rpm). On uphill exits, higher revs ensure you have power ready; on downhill exits, you can downshift to maintain engine braking control if needed.

    4. Putting It All Together: A Step-By-Step Sequence

    1. Approach & Vision: Scan ahead for road camber, surface debris, and exit visibility.
    2. Brake in a Straight Line: Apply firm, steady pressure—finish before steering input.
    3. Shift & Balance: Select the correct gear, release brake fully, and find the bite point if using trail braking.
    4. Turn-In: Steer smoothly to your chosen line; maintain slight brake pressure if trail braking.
    5. Apex Hold: Slightly unwind steering and keep brake off; keep throttle neutral until past the apex.
    6. Accelerate Out: Roll on throttle progressively, straighten the wheel, and allow weight transfer rearward.
    7. Stabilize: Resume normal driving posture and prepare for the next corner.

    5. Pro Tips & Advanced Tricks

    • Brake Balance Adjustment: If your car allows, bias more braking force to the front on downhill bends to prevent rear lock-up.
    • Tire Pressure Tuning: Slightly softer rear pressures can help maintain grip under engine braking, while firmer fronts aid turn-in precision.
    • Use Road Camber: Stay on the high side of the lane in right-hand turns to counteract the road’s banking.
    • Hand-Brake Technique (Low Traction): In loose or snowy conditions, a brief hand-brake tug can initiate rotation—but only for advanced drivers.
    • Practice in Clear Conditions: Master inputs on dry tarmac before attempting them in rain or snow.

    6. Common Pitfalls to Avoid

    1. Braking Mid-Corner: Releases front grip abruptly and risks a snap oversteer.
    2. Sudden Throttle Application: Spins rear wheels if applied before enough front grip returns.
    3. Wrong Gear: Being in too high a gear starves you of power on exit; too low a gear can over-rev and upset balance.
    4. Ignoring Surface Changes: Gravel, wet leaves, or ice dramatically alter traction—reduce speed and avoid harsh inputs.

    FAQs

    Q1: Should I downshift before braking or during corner entry?
    A1: Ideally downshift after finishing braking but before turn-in. This avoids engine braking upsetting balance mid-corner.
    Q2: Can I use engine braking alone on downhill corners?
    A2: Engine braking helps, but supplement with light pedal braking to fine-tune speed—especially when the gradient increases.
    Q3: How do I practice without risking safety?
    A3: Find deserted uphill/downhill stretches or closed-course facilities to rehearse brake-then-accelerate sequences at low speeds.

    Conclusion & Next Steps

    By blending precise braking with smooth acceleration and following these mountain driving tips and cornering techniques, you’ll navigate even the twistiest mountain roads with poise. Start slowly, focus on each phase—brake, turn-in, accelerate—and progressively increase pace as your confidence grows. Safe driving and enjoy every mile of your mountain adventure!

  • Wet-Road Handling: Braking and Hydroplaning Recovery

    Wet-Road Handling: Braking and Hydroplaning Recovery

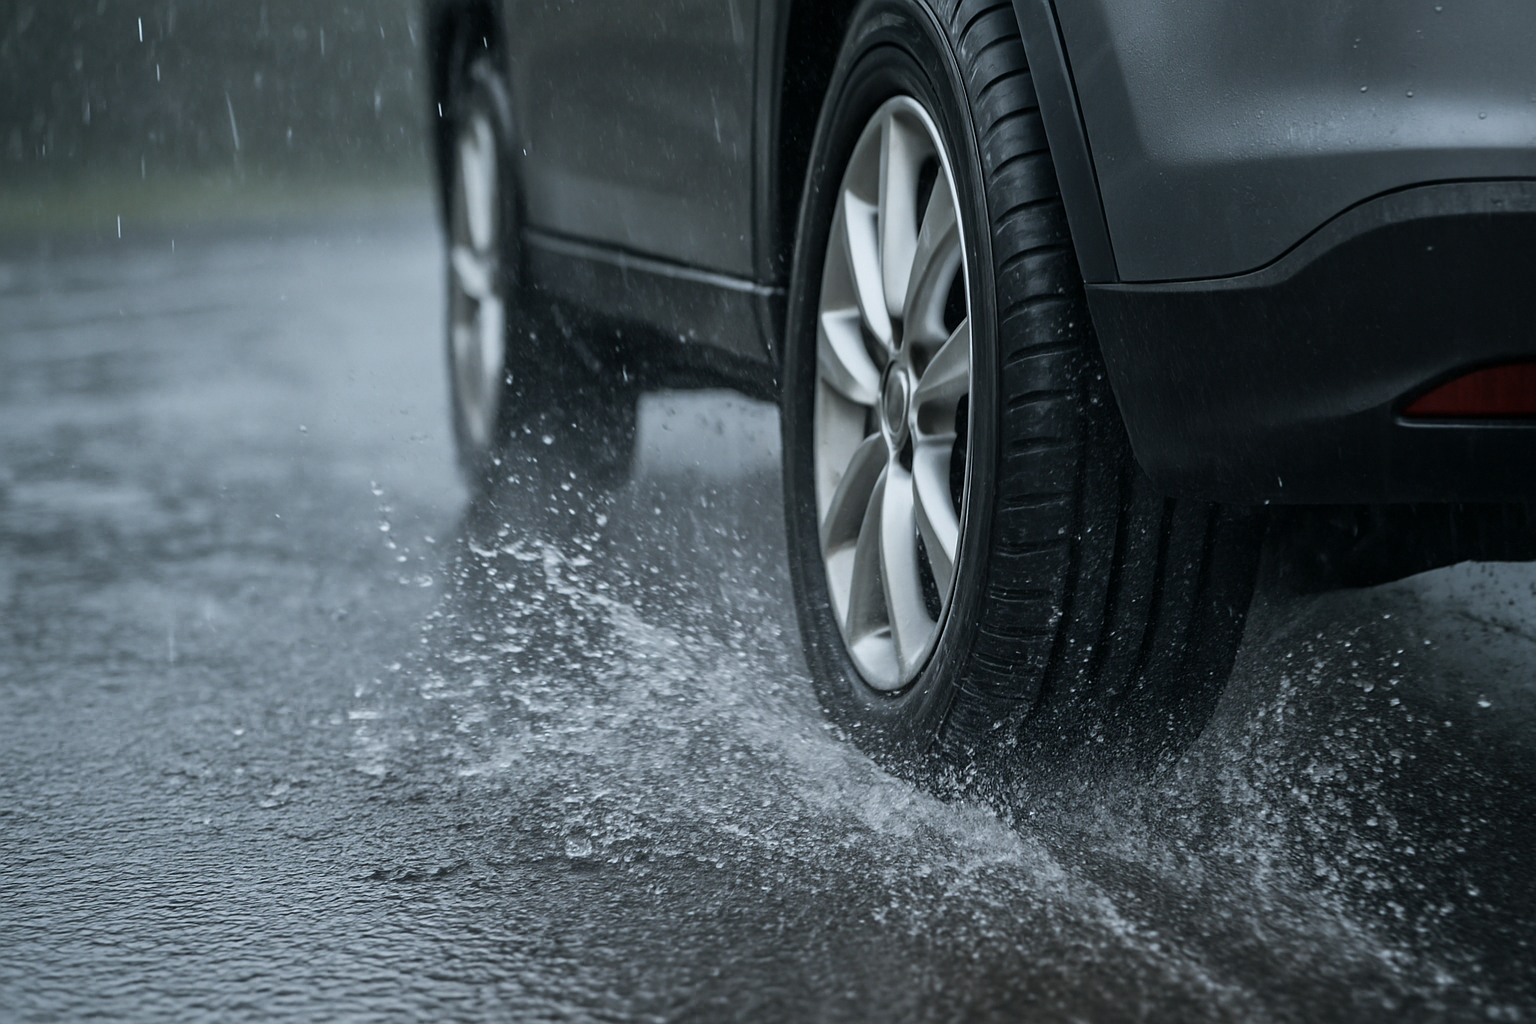
    Hook: Slamming on the brakes in heavy rain can lead to skids, and hitting a patch of standing water may send you aquaplaning out of control. Master these wet road driving skills and hydroplaning recovery techniques to stay safe when the pavement turns slick.

    • Key braking adjustments for maximum traction
    • Step-by-step hydroplaning recovery method
    • Pro tips to minimize risks on rain-soaked roads

    1. Adjust Your Braking Technique for Wet Conditions

    On wet pavement, your tires have up to 50% less grip than on dry roads. To compensate:

    • Increase following distance: Double your normal gap to allow extra stopping room.
    • Brake early and gently: Apply steady, light pressure—avoid hard, abrupt braking that locks up wheels.
    • Use threshold braking (non-ABS vehicles): Apply firm pressure just below the point where wheels begin to skid.
    • Pump brakes (non-ABS): If you feel wheel lock-up, quickly pump the pedal to restore rotation and grip.

    2. Recognize & Recover from Hydroplaning

    Hydroplaning happens when a thin water layer lifts your tires off the pavement, causing loss of steering and braking control. Follow these steps:

    Step 1: Stay Calm & Remove Foot from Pedals

    Don’t jam on brakes or goose the throttle. Ease off both accelerator and brake to let the car slow naturally.

    Step 2: Steer Straight & Avoid Sudden Inputs

    Keep the wheel centered. Jerked steering motions can trigger a spin once grip returns.

    Step 3: Feel for Grip Return

    When tires reconnect, you’ll feel slight feedback through the steering wheel and a drop in engine RPM. Maintain gentle control—don’t chase the wheel.

    Step 4: Resume Controlled Braking

    Once you have traction, reapply brakes smoothly. If you need to slow more quickly, use light, repeated pressure rather than a single hard push.

    3. Pro Tips to Stay Safe on Wet Roads

    • Avoid standing water: Swerving around large puddles reduces hydroplaning risk.
    • Proper tire maintenance: Ensure tread depth is above 3/32″ and tires are inflated to spec for optimal water evacuation.
    • Downshift early: In manual cars, use engine braking in higher gears to reduce reliance on traction-limited brakes.
    • Use cruise control wisely: Turn it off in heavy rain—automatic throttle inputs can increase hydroplaning chances.
    • Choose safe lines: Follow the tracks left by vehicles ahead, where water film is thinner.

    4. Common Pitfalls to Avoid

    1. Over-braking: Panic stops lock wheels and eliminate any remaining traction—avoid stamping on the pedal.
    2. Sharp steering: Jerky turns during a skid can cause a spin—keep inputs smooth and deliberate.
    3. Ignoring warning signs: Spray from other cars and reduced engine sound are early indicators—slow down at the first hint of spray.
    4. Worn tires: Bald or unevenly worn tires drastically reduce hydroplaning thresholds—inspect and replace promptly.

    FAQs

    Q1: What speed causes hydroplaning?
    A1: Most tires can hydroplane above 35–55 mph on deep water—slow to below 35 mph when heavy rain or standing water is present.
    Q2: Can AWD prevent hydroplaning?
    A2: All-wheel drive helps with acceleration on wet roads but does not improve braking or cornering traction—skills and tires are still critical.
    Q3: Should I use ABS or pump brakes?
    A3: If your car has ABS, apply firm, continuous pressure. If you don’t, pump the brakes to prevent wheel lock-up and restore traction.

    Conclusion & Next Steps

    Understanding these wet road driving skills—from gentle braking modifications to precise hydroplaning recovery steps—can make a life-saving difference. Before your next rainy drive, check tire condition, reduce speed, and stay alert to roadway hazards. With practice and preparedness, you’ll navigate slick surfaces with confidence and control.

  • Night-Driving Safety Checklist: Lighting, Glare, Fatigue

    Night-Driving Safety Checklist: Lighting, Glare, Fatigue

    Hook: Driving after dark increases risks from reduced visibility, oncoming headlights, and driver fatigue. Following this night driving safety checklist will help you manage your vehicle’s lighting, minimize glare, and stay alert so you can navigate the roads with confidence.

    • Essential lighting checks before you roll
    • Techniques for glare reduction in your car
    • Strategies to combat nighttime fatigue

    1. Inspect Your Headlights & Taillights

    Clean, properly aimed headlights are your first line of defense. Check both low and high beams by turning them on in a dark area and confirming they illuminate the road evenly. Replace any bulbs that show dimming or color shifts. Don’t forget taillights, brake lights, and turn signals—functional rear lighting ensures vehicles behind you can anticipate your moves.

    2. Aim & Adjust for Optimal Beam Pattern

    Misaligned headlights can blind oncoming drivers or fail to light your path. Park 25 feet from a wall, turn on low beams, and mark the center of each beam. Adjust the vertical and horizontal aim using the screws on your headlight housing until patterns line up with vehicle specifications in your owner’s manual.

    3. Use Night-Specific Glasses & Windshield Treatments

    Anti-reflective night-driving glasses reduce interior glare from dashboard lights and passing headlights. Consider applying a hydrophobic treatment to your windshield to repel water droplets and improve clarity in rain. A clean, streak-free windshield is critical—use a quality glass cleaner and microfiber towel before every nighttime drive.

    4. Minimize Interior Reflections & Dashboard Brightness

    Interior lights and bright gauges can create distracting reflections on your windshield. Dim or turn off unnecessary cabin lights, and set your instrument panel to its lowest comfortable brightness. Cover reflective surfaces on your dash with a non-reflective mat to further reduce glare.

    5. Combat Glare from Oncoming Traffic

    Glare from high beams can temporarily blind you. Look toward the right edge of the road and use lane markings as a guide. Avoid staring directly at headlights. If vehicles don’t dip their beams, briefly flash your high beams once to remind them—then return to low beams immediately.

    6. Keep Mirrors & Exterior Glass Clean

    Dirty side mirrors and windows amplify glare and scatter light. Clean all exterior glass surfaces regularly, including side mirrors. Tilt side mirrors downward slightly at night to reduce reflections from vehicles behind you, and use your rearview mirror’s “night” or “auto-dim” setting if available.

    7. Plan Breaks to Fight Fatigue

    Driving at night can accelerate fatigue. Schedule a 15-minute break every two hours or 100 miles. Use this time to stretch, walk around, and hydrate. Even a brief rest can reset your alertness and reduce the risk of microsleeps behind the wheel.

    8. Use Caffeine & Healthy Snacks Strategically

    A cup of coffee or tea can enhance alertness for 2–3 hours. Combine caffeine with a light, protein-rich snack—nuts or cheese cubes—to avoid sugar crashes. Avoid heavy meals before driving, as digestion can cause drowsiness.

    9. Adjust Your Driving Style

    Reduce speed to compensate for limited visibility. Increase following distance to at least four seconds at night. In rural areas, watch for wildlife near illuminated patches in the road, and be prepared to brake smoothly.

    10. Leverage Vehicle Safety Features

    Modern cars offer features like adaptive headlights, automatic high-beam control, and night-vision assist. Engage these systems if available, but don’t rely solely on them—stay vigilant and maintain manual control over lighting switches.

    Common Pitfalls to Avoid

    1. Relying on high beams continuously: High beams can blind other drivers—use them sparingly and switch back promptly.
    2. Ignoring eye strain: If your eyes feel dry or tired, stop and rest—eye drops and brief naps can help.
    3. Overdriving headlights: Don’t drive faster than your headlights illuminate—adjust speed so you can stop within visible range.

    FAQs

    Q1: How often should I replace my headlight bulbs?
    A1: Replace halogen bulbs every 2–3 years or when you notice dimming; LED and HID units can last longer but still require periodic checks.
    Q2: Are tinted windshields safe at night?
    A2: Dark tints reduce glare but can also impede visibility. Ensure your tint complies with local regulations and doesn’t hinder your night vision.
    Q3: Can I use high beams on rural roads?
    A3: Yes, but be ready to switch to low beams when you detect oncoming vehicles or follow another car to prevent glare.

    Conclusion & Next Steps

    Incorporating these night driving safety measures—proper lighting checks, glare reduction car techniques, and fatigue management—transforms after-dark driving into a safer, more comfortable experience. Perform this checklist before your next night trip, and you’ll navigate darkness with confidence and control.

  • Hill Starts Without Rolling Back: Step-by-Step

    Hill Starts Without Rolling Back: Step-by-Step

    Hook: Nervous about stalling or rolling backward on a steep incline? This hill start tutorial will guide you through a foolproof method for a manual transmission hill start, so you can conquer hills confidently without practice parking brake tricks or expensive training.

    • Why mastering hill starts improves safety and confidence
    • Precise clutch-and-throttle coordination in five clear steps
    • Pro tips to avoid stalling and rollback every time

    Why Proper Hill Starts Matter

    Rolling backward on a hill can surprise drivers behind you and cause bumper dings or collisions. For manual drivers, a reliable manual transmission hill start technique keeps you in control, prevents clutch wear from half-clutch riding, and builds confidence in stop-and-go traffic or narrow mountain roads. Whether you’re new to stick shifts or refreshing your skills, a solid hill start tutorial is essential.

    Step-by-Step Hill Start Tutorial

    1. Engage the Parking Brake & Clutch

    With the engine running, press the clutch pedal fully to the floor and shift into first gear. Pull up the parking brake lever to hold the car against the hill. This setup eliminates rollback while you prepare for the launch.

    2. Find the Bite Point

    Slowly release the clutch until you feel the engine begin to pull—the “bite point.” The revs may dip slightly and the car shudders as the clutch plates engage. Hold the pedal steady at this point; the car should remain stationary with the parking brake engaged.

    3. Apply Throttle—Just Enough

    Gently press the accelerator to raise engine RPM to around 1,500–2,000. Too little throttle risks stalling; too much spins the wheels. Aim for a smooth, controlled rise, allowing the engine to deliver torque exactly when the clutch releases.

    4. Release the Parking Brake Smoothly

    While maintaining the bite point and steady throttle, slowly lower the parking brake. The car will begin to move forward—ensure it does so without jerking by keeping the clutch in its bite zone until full engagement.

    5. Fully Release the Clutch & Drive Off

    Once the car moves, continue to ease out the clutch completely and smoothly transition throttle control to the accelerator. Accelerate steadily to climbing speed in first gear, then shift to second when RPM reaches about 2,500–3,000.

    Pro Tips & Advanced Tricks

    • Use hill-hold features: If your car has an electronic hill-start assist, engage it—but still practice manual technique for full control.
    • Heel-toe positioning: Keep your heel on the floor and pivot to the throttle while clutch is down for quicker coordination.
    • Clutch warm-up: In cold weather, briefly warm the clutch by slipping at a safe bite point before tackling steep grades.
    • Smooth inputs: Jerky clutch or throttle movement can jolt the car—focus on gradual pedal travel.
    • Practice on mild slopes: Build muscle memory on 5–10% grades before trying steeper roads.

    Common Pitfalls to Avoid

    1. Riding the clutch: Holding the clutch at the bite point too long wears the friction plate—use the parking brake to hold position instead.
    2. Over-revving: Excessive throttle causes wheel spin and poor traction—match RPM to road conditions.
    3. Dropping the parking brake too fast: Releasing it in one motion can cause rollback or lurching—lower it smoothly.
    4. Ignoring road conditions: Wet or gravel surfaces reduce grip—adjust throttle and bite point accordingly.

    FAQs

    Q1: Can I use first-gear creep instead of the parking brake?
    A1: In mild slopes you can hold at the bite point without the parking brake, but on steeper hills it’s safer to engage the handbrake until you’re ready to move.
    Q2: What if my car stalls at the bite point?
    A2: Increase RPM slightly and find a smoother bite point—stalling often means the clutch isn’t fully at its engagement position.
    Q3: How do I downshift on a hill start?
    A3: After moving off in first gear, shift to second at normal RPM. Save downshifts for gear changes rather than initial launch.

    Conclusion & Next Steps

    With this hill start tutorial, you’ll conquer inclines confidently and protect your clutch. Practice each step methodically—soon the process will feel second nature, even in high-pressure traffic. Next time you face a steep drive, remember: bite point first, steady throttle, and smooth parking brake release. Happy climbing!

  • 11	Eco-Driving Hacks That Save Up to 20% on Fuel

    11 Eco-Driving Hacks That Save Up to 20% on Fuel

    Hook: Want to spend less at the pump while reducing your carbon footprint? These simple eco driving tips and optimized fuel efficiency driving habits can cut your fuel consumption by up to 20%. Read on to learn practical hacks that pay for themselves in no time.

    • Key behaviors that improve mileage without sacrificing convenience
    • Quick vehicle checks and in-drive strategies
    • Pro tips to lock in long-term fuel savings

    Why Eco-Driving Matters

    Efficient driving not only lowers your fuel bills but also reduces emissions and wear on your car. By adopting smarter driving habits, you extend engine life, reduce maintenance costs, and contribute to cleaner air. These eco driving tips are easy to integrate into your daily routine, whether you commute, carpool, or run errands.

    Top Eco-Driving Hacks

    1. Smooth Acceleration & Braking

    Aggressive starts and stops burn extra fuel. Accelerate gently to 20 mph rather than flooring the throttle, and anticipate traffic so you can coast to a stop instead of slamming the brakes. This smooth approach reduces wasted energy and improves fuel efficiency driving habits.

    2. Maintain Steady Speed

    Use cruise control on highways to hold a constant speed—ideally between 50–65 mph. Avoid unnecessary speed bursts, as aerodynamic drag rises exponentially above 65 mph. A stable pace conserves momentum and fuel.

    3. Keep Tires Properly Inflated

    Underinflated tires increase rolling resistance, costing up to 3% in fuel economy. Check tire pressure monthly and inflate to the manufacturer’s recommended PSI. For best results, measure when the tires are cold.

    4. Lighten Your Load

    Remove bulky items and roof racks when not in use—every extra 100 lbs can reduce MPG by about 1%. Store golf clubs or cargo boxes in the garage and only carry what you need for daily trips.

    5. Minimize Idling

    Idling for more than 10 seconds uses more fuel than a brief shutdown and restart. Turn off your engine during extended waits—at school pick-ups or drive-thrus—to eliminate wasted fuel and emissions.

    6. Use Higher Gears

    In manual vehicles, shift up early to keep engine RPM low. In automatics, use “Eco” mode if available. Lower RPMs reduce internal friction and fuel consumption.

    Pro Tips & Advanced Tricks

    • Plan your route to avoid traffic jams and high-stop areas—use real-time navigation apps with eco-friendly routing options.
    • Time your trips during off-peak hours to maintain steady speeds and avoid excessive braking.
    • Combine errands into one trip to reduce cold starts, which burn more fuel in the first few miles.
    • Use your car’s built-in trip computer to monitor average MPG and set incremental improvement goals.
    • Perform regular engine tune-ups and replace clogged air filters to ensure optimal combustion efficiency.

    Common Pitfalls to Avoid

    1. Overusing air conditioning: AC can reduce fuel economy by up to 10%—use vent mode or crack a window at low speeds.
    2. Ignoring maintenance: Dirty spark plugs, low engine oil, and worn-out oxygen sensors all degrade mileage—stay on schedule.
    3. Heavy foot on throttle: Rapid throttle inputs negate coasting benefits—focus on gradual pedal control.

    FAQs

    Q1: How much can I really save with eco-driving?
    A1: Most drivers see a 10–20% improvement in MPG when consistently applying these eco driving tips and fuel efficiency driving habits.
    Q2: Does warming up my car in cold weather waste fuel?
    A2: Modern engines require minimal warm-up—start driving gently after 30–60 seconds rather than idling for several minutes.
    Q3: Is it worth investing in a fuel-efficient vehicle if I already drive economically?
    A3: Yes—while good habits boost any car’s economy, a fuel-efficient model can offer an additional 20–40% savings on top of your eco-driving gains.

    Conclusion & Next Steps

    Incorporate these eco driving tips into your routine, and you’ll see noticeable savings at the pump. Start with one hack at a time—then combine them for maximum effect. Your wallet, your car, and the environment will all thank you for adopting smarter fuel efficiency driving habits.

  • How to Master Parallel Parking Every Time

    How to Master Parallel Parking Every Time

    Hook: Struggling to squeeze into tight city spots? With this step-by-step parallel parking guide and expert parking tips for beginners, you’ll nail every parallel park like a pro—no more circling the block or awkward three-point turns.

    • Understand the ideal reference points and car positioning
    • Follow our simple four-step parking process
    • Learn pro tips to overcome common beginner mistakes

    Why Parallel Parking Matters

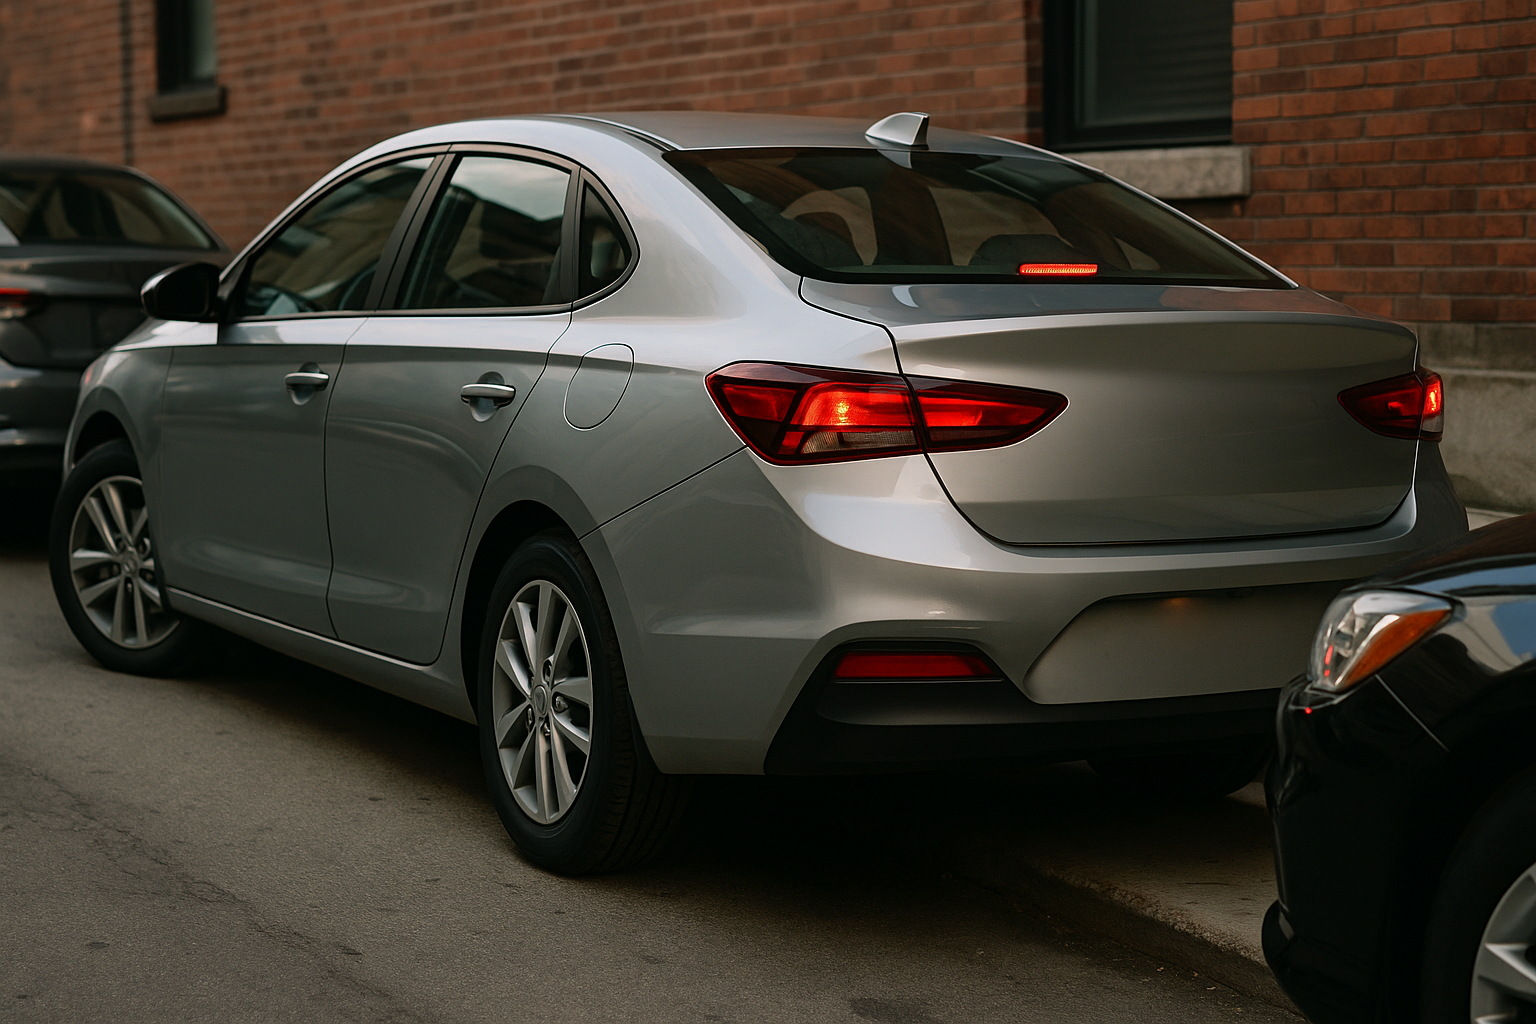
    Parallel parking is an essential urban driving skill—mastering it saves time, avoids parking tickets, and reduces stress when spots are scarce. Whether you’re in a crowded downtown district or a busy residential street, a solid parking tips for beginners routine keeps you confident and in control.

    Step-by-Step Parallel Parking Guide

    1. Find the Right Spot & Position Your Car

    Choose a space at least one-and-a-half times your car’s length. Pull up alongside the car in front of the spot, aligning bumpers and leaving about 2 feet of gap. Keep your wheels straight and your turn signal on to alert other drivers.

    2. Reverse into the Spot

    Shift into reverse and look over your shoulder. Slowly back up, turning your steering wheel sharply toward the curb. Aim your rear passenger-side window at the back corner of the front car. Move at a walking pace—precision beats speed.

    3. Straighten & Continue Backing

    When your front wheel aligns with the curb car’s rear bumper, center your steering wheel and continue reversing straight until your front bumper clears the back bumper of the car ahead. Check mirrors to avoid scraping the curb.

    4. Angle Back In & Center Your Car

    Turn your wheel sharply away from the curb and back in until your car is parallel with the curb. Adjust forward or backward as needed to center in the space, maintaining roughly 6–12 inches from the curb.

    Pro Tips & Advanced Tricks

    • Use reference points: Mark your sightline (mirror, window frame) for consistent angles.
    • Pencil trick: Imagine your car as a pencil—rotate around a fixed pivot point to control the arc.
    • Practice in empty lots: Set cones at car-width intervals to simulate real spots.
    • Steering control: Make deliberate, full-turns of the wheel—partial turns often under-steer you out of alignment.
    • Maintain slow speed: A steady crawl gives you time to correct without banging the curb or neighboring car.

    Common Pitfalls to Avoid

    1. Too much distance from curb: Leaving too large a gap can make exiting difficult and may invite parking tickets.
    2. Overturning the wheel: Straying past the ideal pivot point forces you to correct twice, increasing risk of collision.
    3. Relying solely on mirrors: Peripheral blind spots can hide curb proximity—glance over your shoulder to confirm clearance.

    FAQs

    Q1: How close to the curb should I be?
    A1: Aim for 6–12 inches between your passenger-side tires and the curb—close enough to be safe, but not touching.
    Q2: What if there’s no car behind me to align with?
    A2: Use a fixed reference point like a sidewalk joint or painted line; practice estimating the proper pivot distance.
    Q3: Can parallel parking be done in a manual transmission car?
    A3: Yes—treat the clutch like your brake for very low-speed control and keep the clutch engaged to avoid stalling.

    Conclusion & Next Steps

    By following this parallel parking guide and incorporating these parking tips for beginners, you’ll conquer the tightest spots with ease. Practice each step slowly, refine your reference points, and soon you’ll parallel park confidently every time. Ready to claim that curb-side spot? Head out and give it a try!

  • Defensive Driving 2.0: Anticipation Techniques for Urban Traffic

    Defensive Driving 2.0: Anticipation Techniques for Urban Traffic

    Hook: Navigating crowded city streets can feel like a high-stakes video game. Mastering the latest defensive driving tips and honing your anticipation skills are essential for city driving safety. This guide will teach you how to read the road, predict hazards, and stay one step ahead of other drivers.

    • Why anticipatory driving reduces accidents and stress
    • Key techniques to spot and respond to urban hazards
    • Pro tips to practice and perfect defensive skills

    Why Anticipation Matters in Urban Driving

    In dense traffic, split-second decisions can prevent costly collisions. By focusing on the bigger picture—traffic flow, pedestrian behavior, and environmental cues—you shift from reactive to proactive driving. Anticipation techniques aren’t about driving slowly; they’re about maintaining control and confidence amid unpredictable city conditions.

    Core Anticipation Techniques

    1. Scan Beyond the Car Ahead

    Avoid “tunnel vision.” Use the “10-second rule”: look ahead two to three blocks to spot brake lights, stalled vehicles, or jaywalking pedestrians before the car directly in front of you reacts.

    2. Mirror & Head Check Rhythm

    Develop a scan pattern: mirrors every 5–8 seconds, plus a quick shoulder check before lane changes or intersections. Early mirror glances reveal merging traffic or aggressive drivers trying to cut in.

    3. Intersections & Crosswalk Focus

    Approach at a steady speed, covering the brake. Observe body language: pedestrians shifting weight or making eye contact may step off the curb. Watch side-street vehicles inching forward or hidden behind parked cars.

    4. Gap Management

    Maintain at least a three-second following distance in urban traffic. This gives you room to brake or steer around hazards when the vehicle in front suddenly stops or swerves.

    5. Left-Turn Strategy

    When turning across traffic, position your car slightly forward at the stop line (only if safe), enhancing visibility. Pause, scan far lanes, and commit to a decisive turn when you spot a sufficiently large gap.

    Pro Tips & Advanced Tricks

    • Use “reference points” (signs, shadows) on the road to gauge how quickly you’re approaching potential hazards.
    • Anticipate signal timing: if a light’s been green for a while, prepare to slow down before it turns yellow.
    • Watch for curb reflectors and bike lane indicators to detect cyclists hidden in your blind spot.
    • Adjust your driving posture: sit upright with a firm, light grip on the wheel to react more quickly.

    Common Pitfalls to Avoid

    1. Over-reliance on ABS: While ABS helps in emergencies, don’t assume it will prevent all skids—practice controlled braking in safe conditions.
    2. Distraction drift: Checking mirrors too infrequently because of phone or audio adjustments undermines your scan pattern.
    3. Speed creep: It’s easy to unintentionally exceed speed limits in stop-and-go traffic—use cruise-control features if available.

    FAQs

    Q1: How close should I follow in city traffic?
    A1: Maintain at least a three-second gap under normal conditions. Increase to four seconds in wet or low-visibility conditions.
    Q2: Is it safer to stick to the right lane in heavy traffic?
    A2: Generally yes—right lanes tend to have fewer merging maneuvers, but always scan and adapt based on traffic flow and exits.
    Q3: How do I practice anticipation skills?
    A3: Start in low-risk environments (empty parking lots or quiet residential streets) to build your mirror-check rhythm and braking distances before tackling busy downtown roads.

    Conclusion & Next Steps

    By integrating these defensive driving tips and anticipation techniques into your routine, you’ll navigate urban roads with greater confidence and safety. Commit to one new skill at a time—soon, proactive driving will become second nature. Keep scanning, stay alert, and enjoy stress-reduced city driving!